Remote Control
 A stick mounted remote control was made from a very nice carbon stick grip (thank you Siegfried!), a small Arduino Leonardo clone and a few SMD pushbuttons. Attach the pushbuttons to Arduino digital inputs as shown in http://arduino.cc/en/Tutorial/InputPullupSerial. The Arduino emulates a USB keyboard or mouse, any button on the remote can be mapped to a “keyboard” key or mouse function. Yes, this means you can use this remote with any Android / Windows / Linux / etc. device that supports USB keyboard and mouse
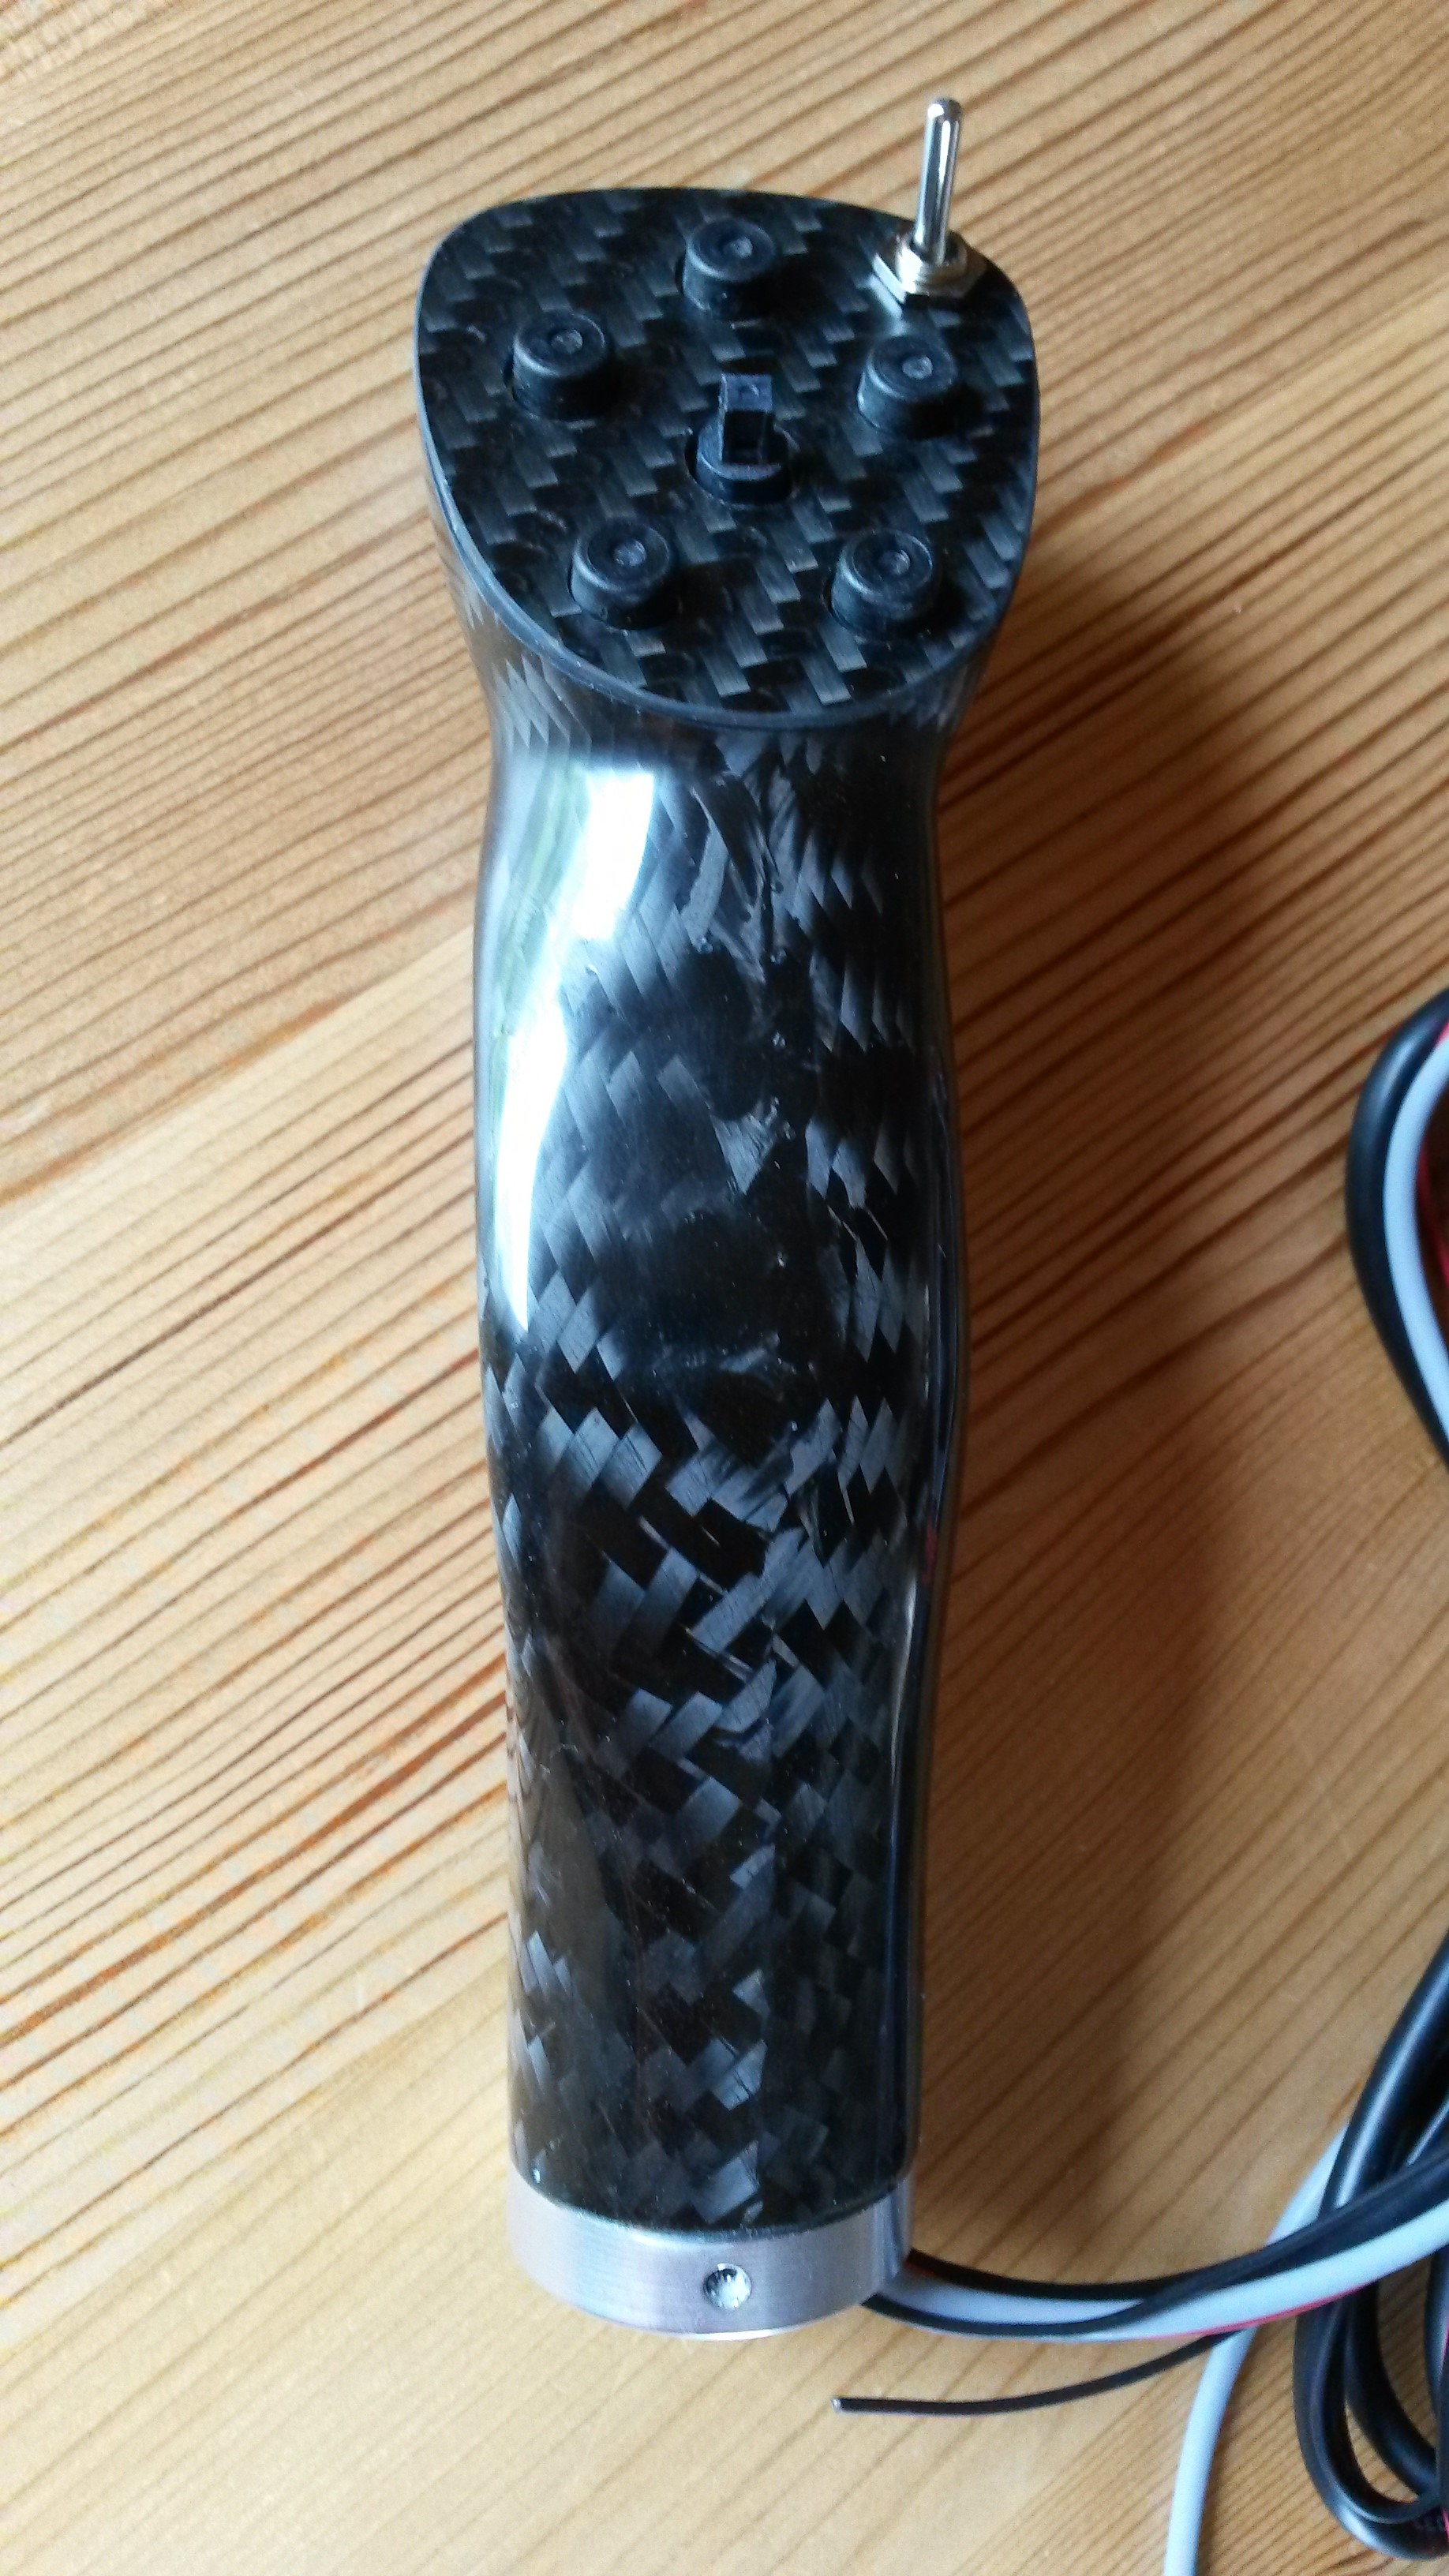
 ![]()
At the moment, the basic button layout is similar to the remotes used by LX with four arrow, an Enter and an Esc button. The upper left button calls XCSoars Quick Menu, the upper right hand button gives direct access to XCSoars Alternates page. This works well for the most frequent interactions in flight, but does not allow to operate all of XCSoars features. If required, the operating mode can be changed to “Mouse” (and back) by a button press. Using the mouse function is slower, but allows to operate all menus in XCSoar. The next version will have a tactile 4 way switch with pushbutton instead of the arrow and Enter keys, with a few additional buttons to directly call some XCSoar pages like Alternates or Flarm Radar.
All the electronics can be bought for around 10€ or even less and only basic soldering skills are required, which makes the remote an ideal first project. Don´t forget to implement some form of strain relief for the micro USB connector on the Arduino, if you don´t it will be ripped from the PCB during use.
Arduino Software:
Stick_Remote_Control_20170429.ino This is a new version with a press (short click) and a hold (click >0.5s) function for each button. Toggle between normal and mouse mode by holding the joystick button for >0.5s.
Stick_Remote_Control_20140106.ino Old version
SteFly Stick Remote
If you prefer a nicely made PCB instead of soldering a mess of cables to the Arduino you can download files for the SteFly remote generously provided by Stefan.
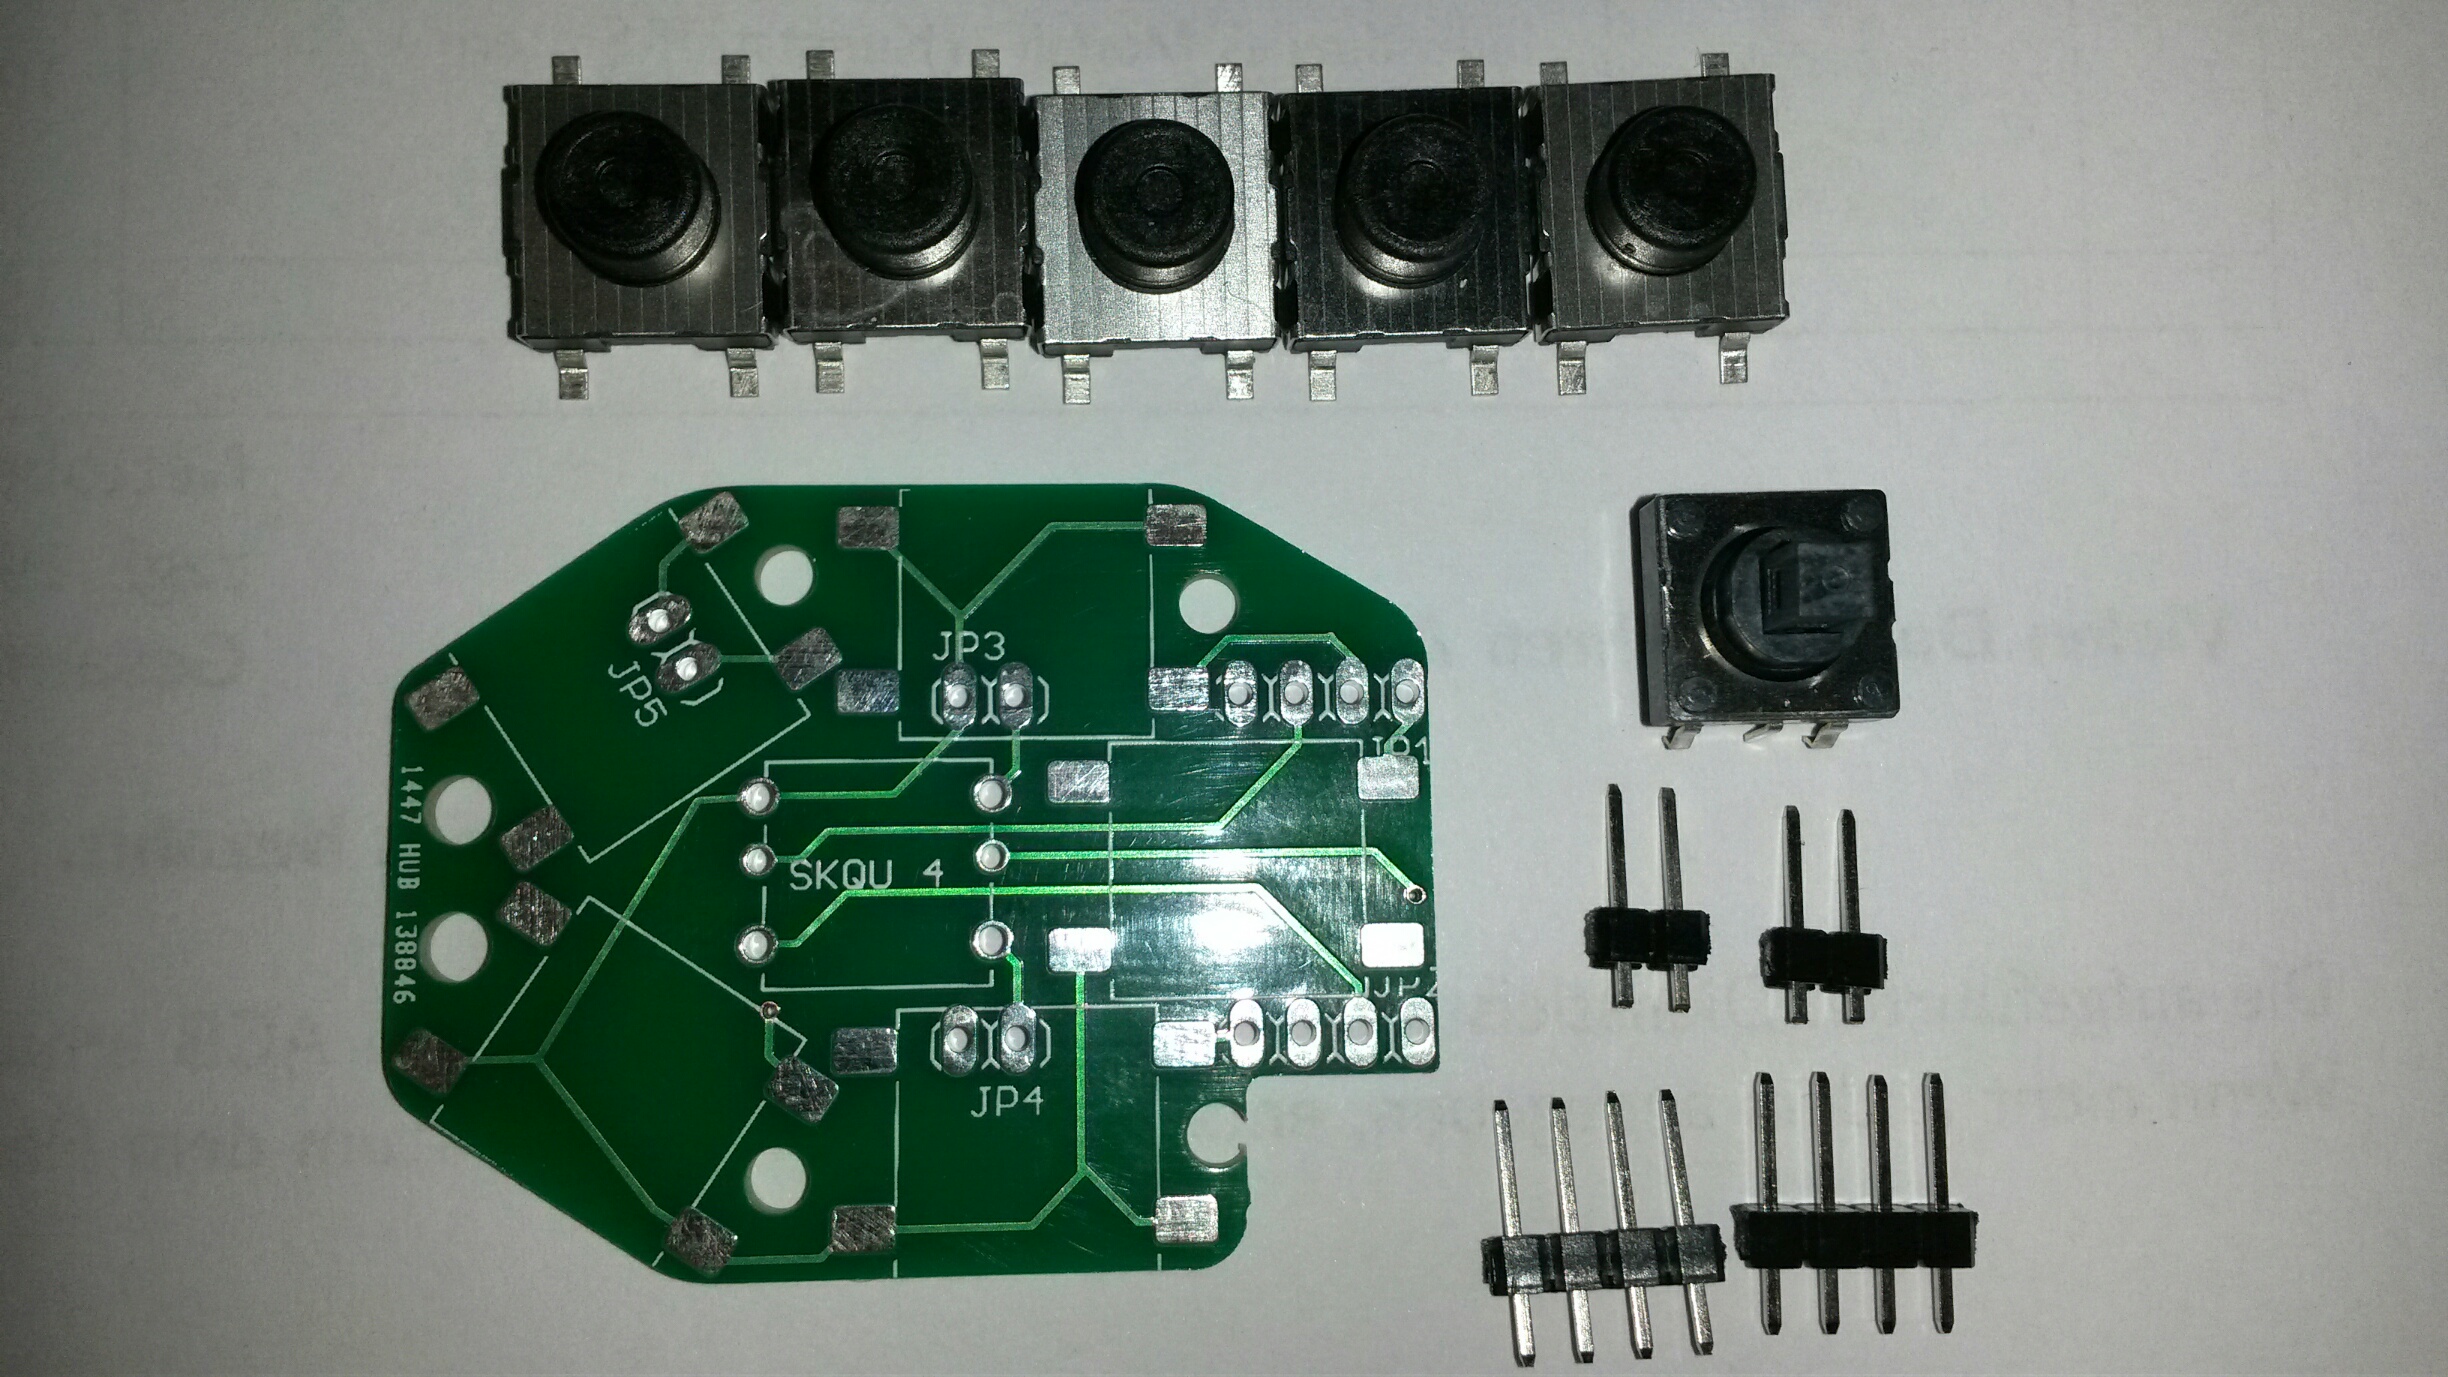
All parts ready for soldering
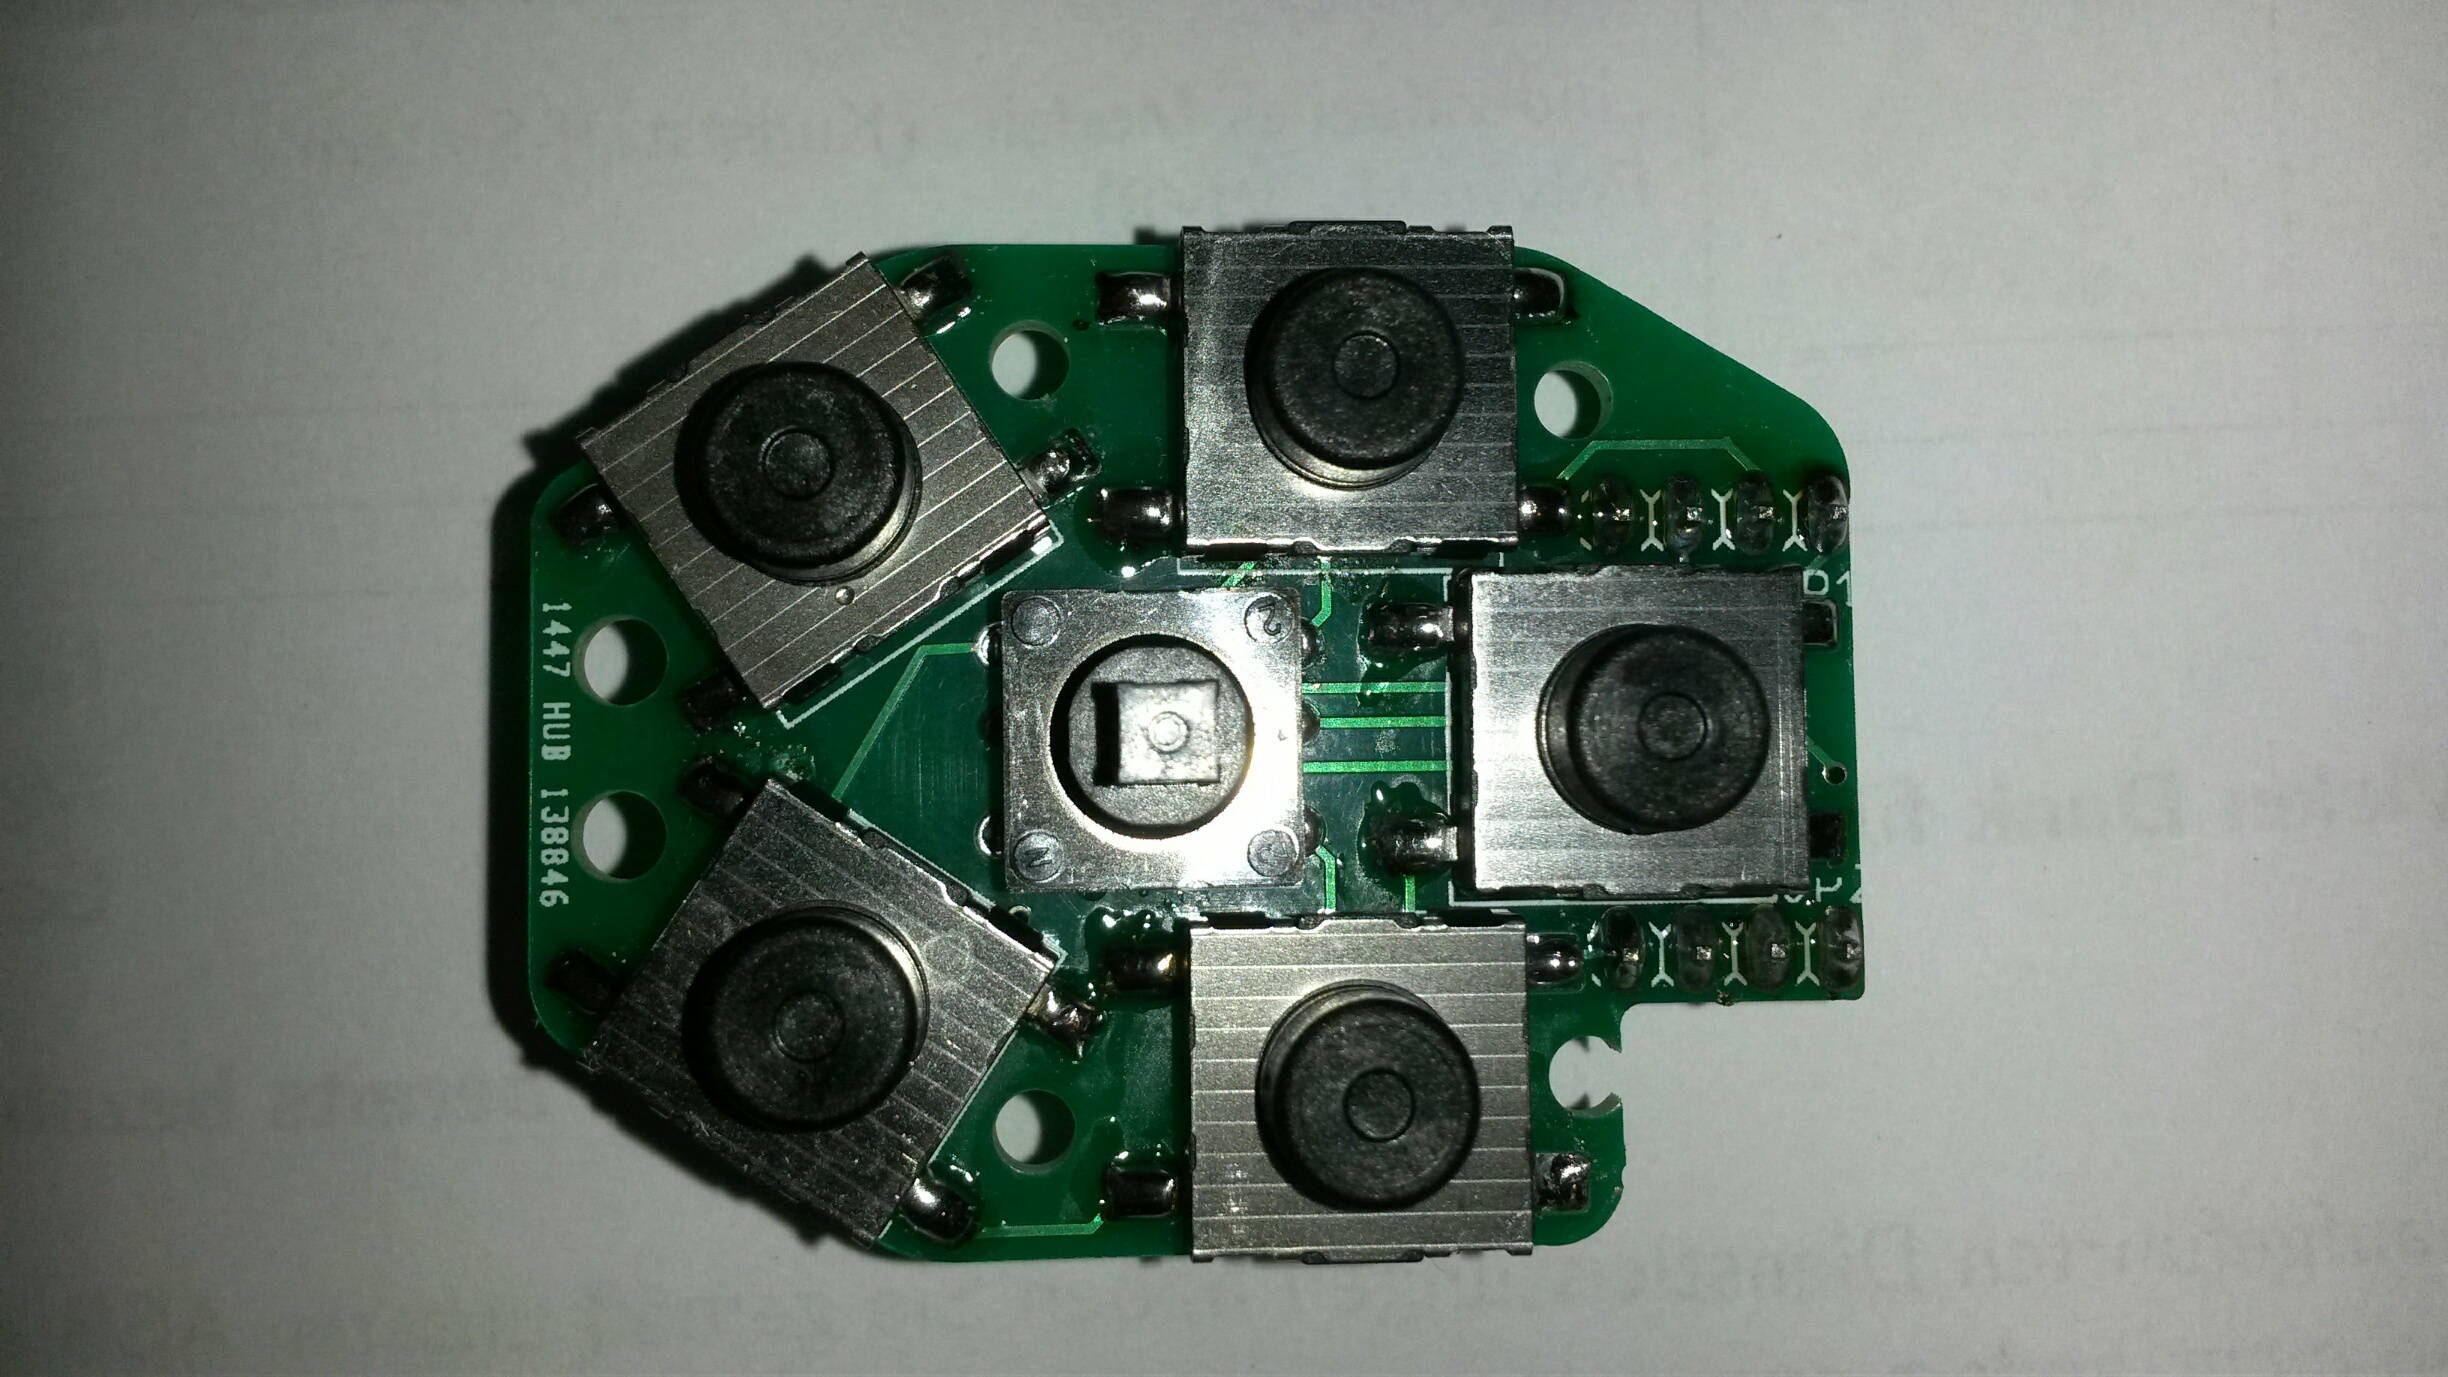
PCB top side
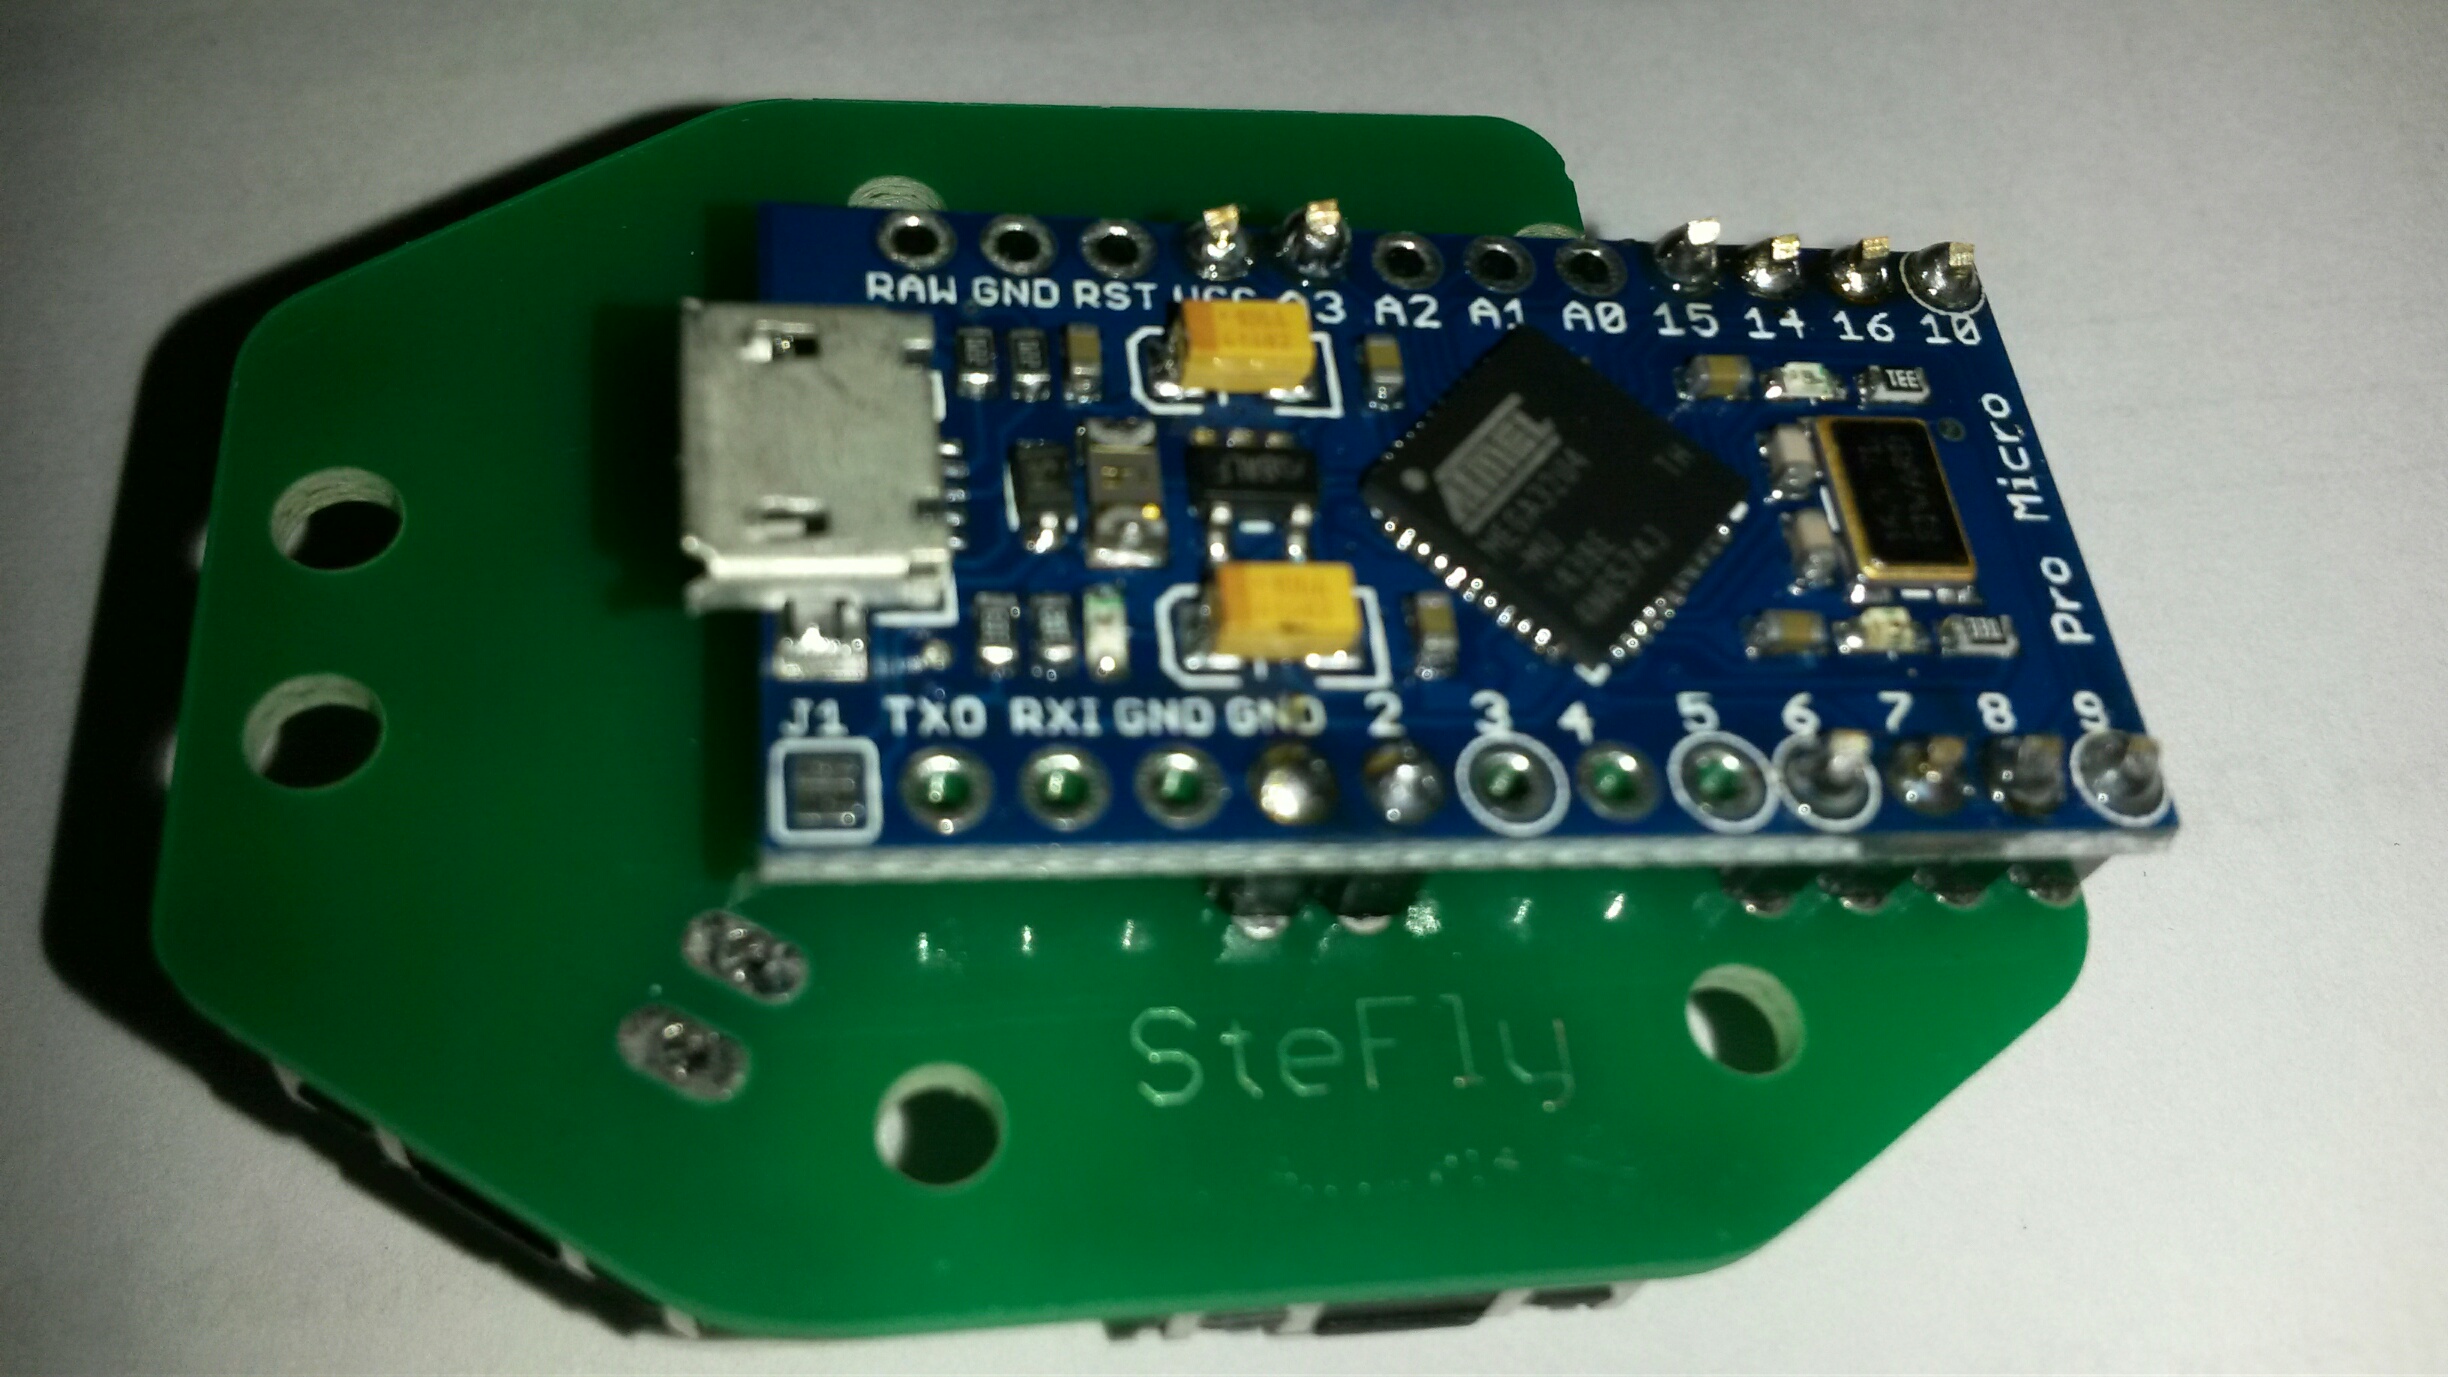
PCB bottom side with Arduino
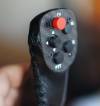
Everything installed in a cool carbon stick
 Except where otherwise noted, content on this wiki is licensed under the following license: CC Attribution-Share Alike 4.0 International